The Ultimate Step-by-Step Guide to Building Airfix Starter Set Model Kits
The weather is garbage so we’re gonna build a model kit. I haven’t attempted this in like 25 years, so I’ll be learning right along with you.
To view this blog in its original YouTube video format, click here!
We’re gonna be using this 1 72 scale Royal Air Force Red Arrows Hawk from Airfix. We’re using this kit because it’s a StarterSet (trademark).
This means it comes with glue and paints, as well as detailing decals.
Airfix recommend also using a file, tweezers, scissors, clippers, a drill (only for some kits), tape, and peg. I’ll use all of these to make the video complete, but we’re beginners here, so don’t stress if you’re missing one of these things. As my dad always said, “Don’t let the lack of a peg slow you down.”
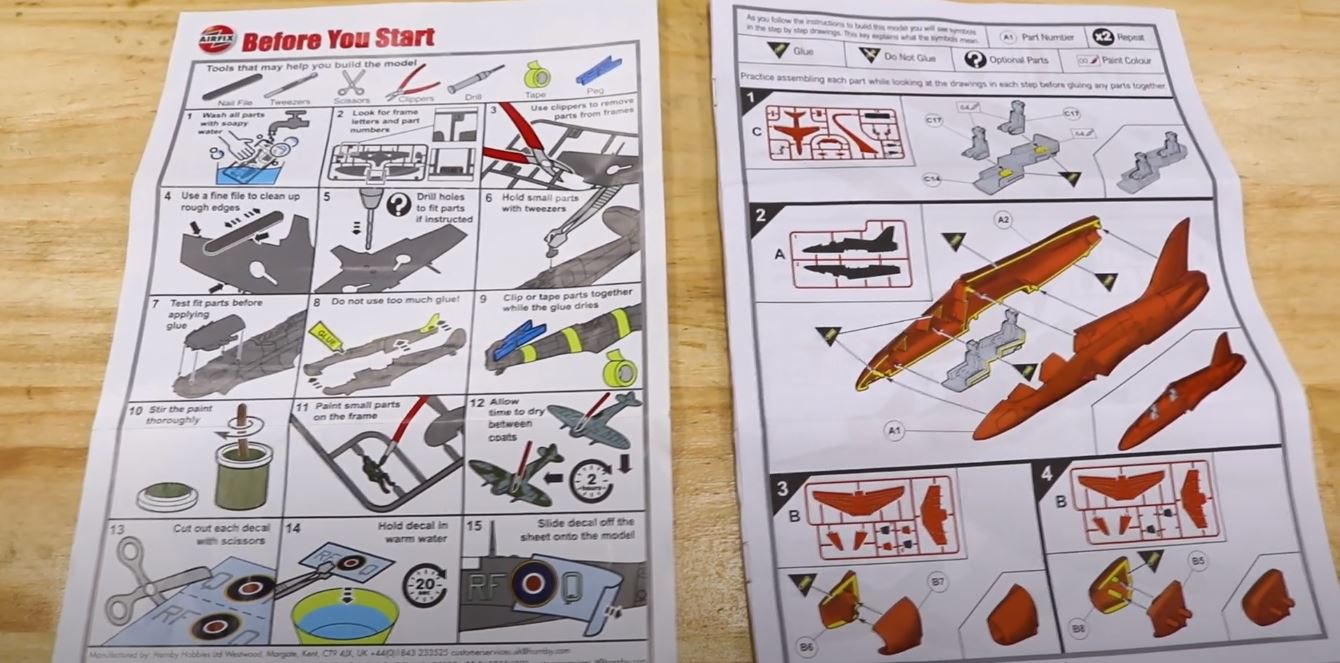
You’ll notice that this kit comes with 2 sets of instructions – one is a general technique guide, and the other is the instructions specific to the kit.

First step though, is to wash everything in soapy water. Just like an rc car body shell, they have mold release agents that paint and glue sometimes react with.
The instructions work like this – they tell you what part to use, on what part tree, and which of the included paint colours to paint it. For example, here we have the seats and seat mount that we have to paint with the grey number 64 and let dry before glueing them together. It’s easier to paint them while they are still on the parts tree – thanks Before you Start Guide number 11! The instructions said the paint could take up to 2 hours to dry, but it depends how heavy handed you were.
The instructions also say to test-fit all parts before glueing, and honestly…that does make sense.
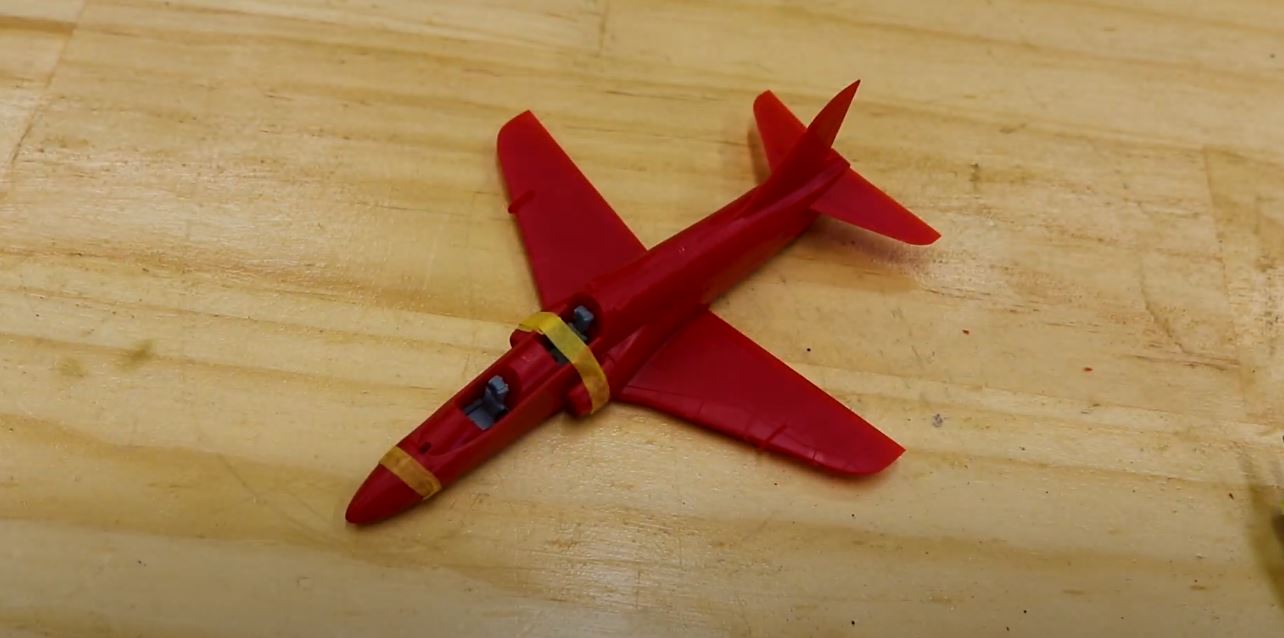
In the next step, we can see that our freshly-painted cockpit assembly goes between the two main halves of the fuselage.
Then we build some air intakes, and put them on the side, as well as some rear wings.
When we’ve glued on the main wing assembly, the instructions say it’s time to paint! This is the part 7-year-old me used to skip and just put the stickers one, because it’s moulded in the right colour plastic anyway! But, I’ve allegedly “matured” since then, so we’re gonna paint it.

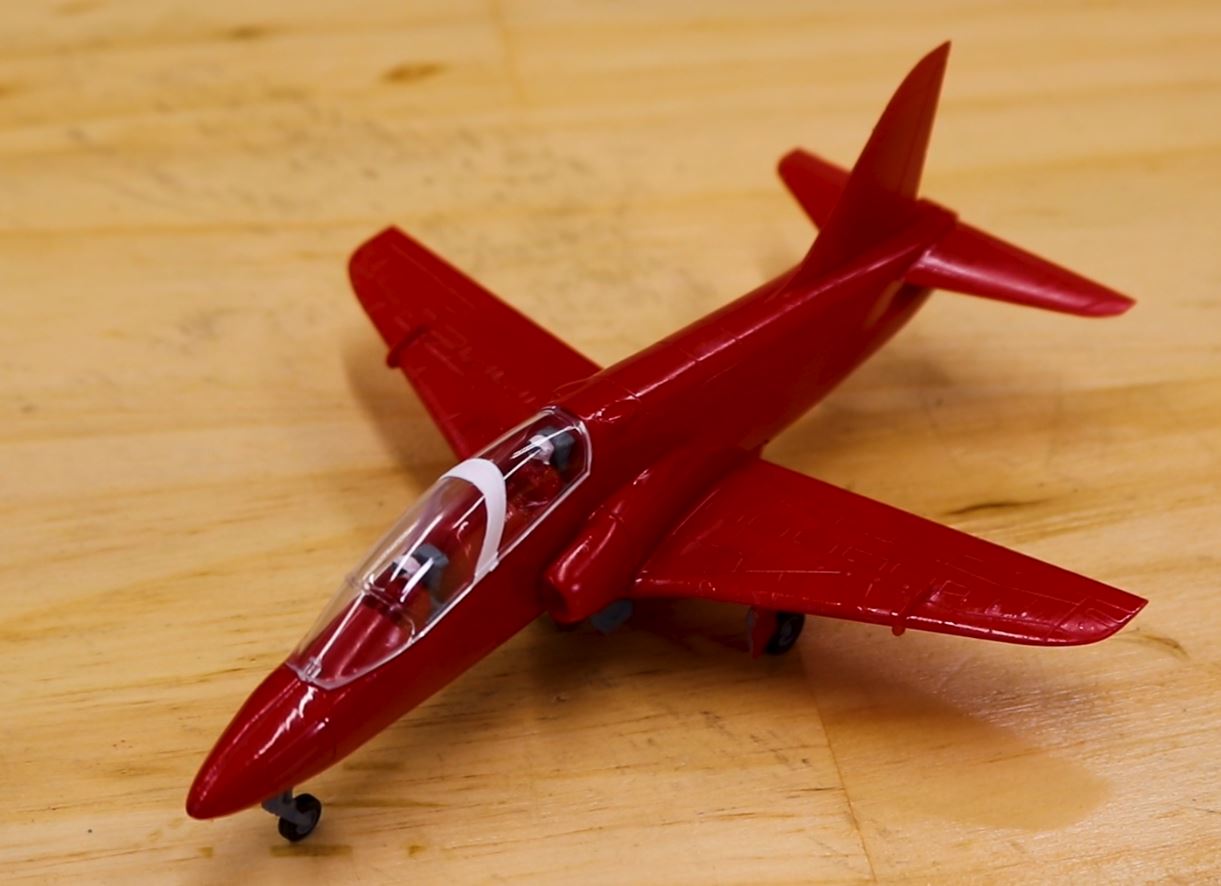
It’s at this point you have to make a DECISION. You can take the easy route and finish the assembly without the landing gear deployed, OR you can do the right thing and add detail. Paint the landing gear and per the instructions, test fit it, then glue it on.
Lastly for assembly, we’re going to add the pilots and canopy.
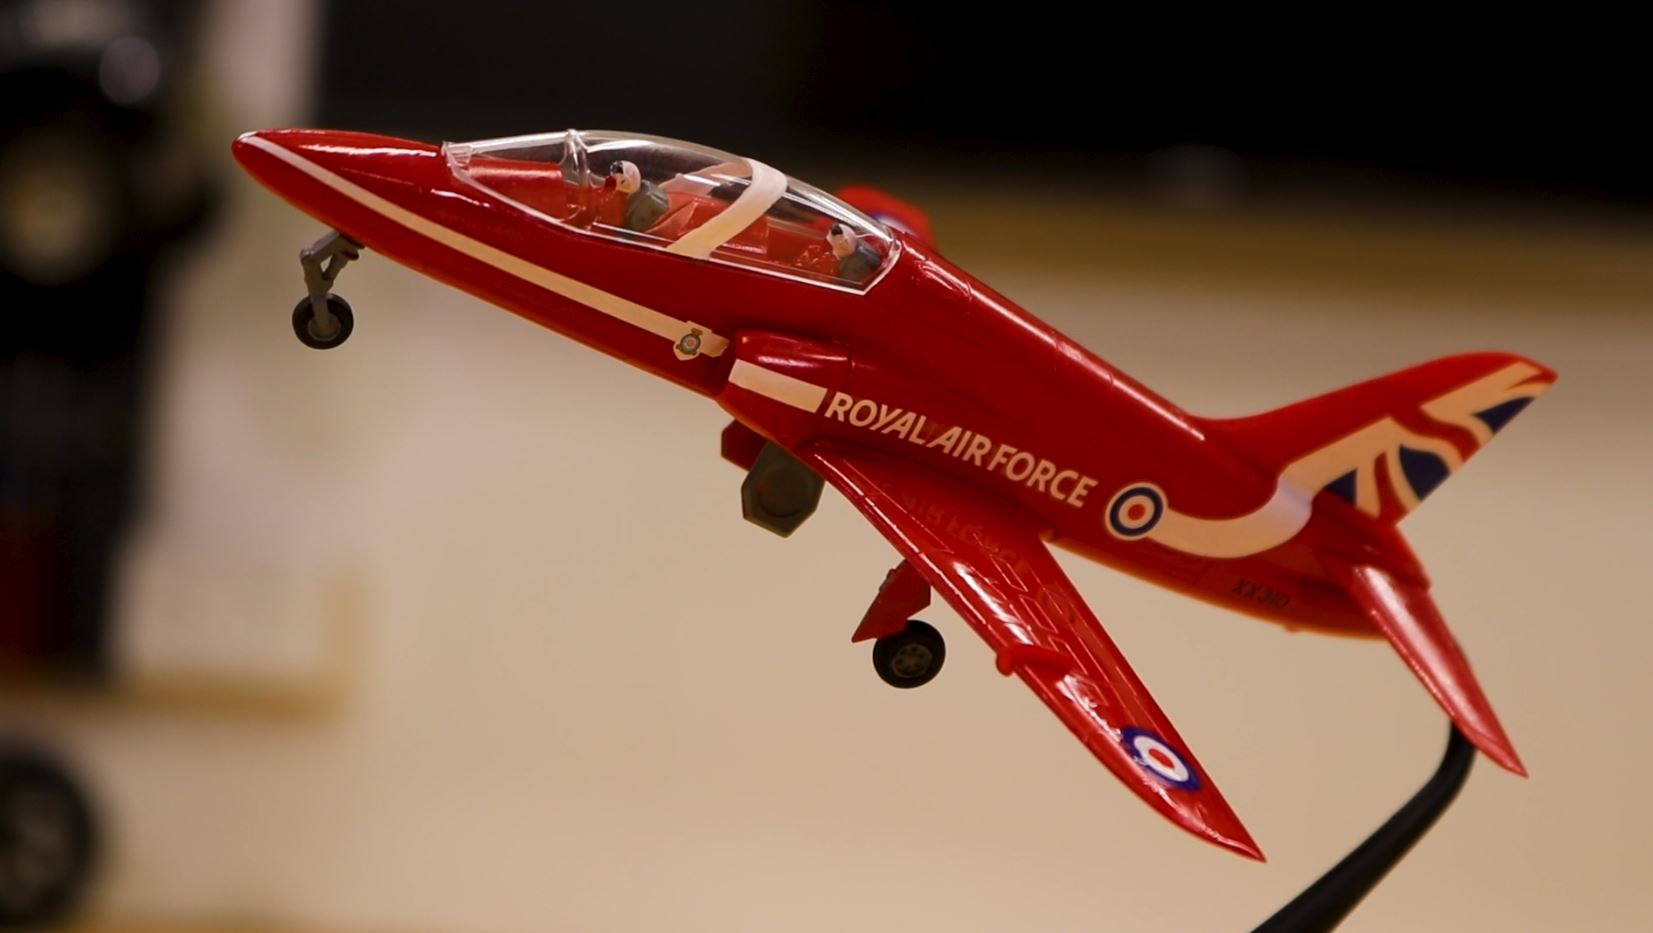
So, the plane is looking pretty cool. But we’ve got my favourite bit to do – the water slide decals.

These aren’t like traditional stickers; they’re better - even if they are fiddly and often mind-numbingly frustrating. The technique guide shows how they work.
Firstly, cut out the individual decals.
Then, using your tweezers, hold the decal in warm water so it softens. Using the guide on the back of the box, place the decal where it goes, then slide it off the sheet onto the model.
Let all the various glues and any more paint cure for a while before touching, and you’ve finished your model plane!
There is one last thing though. The display stand. The instructions don’t mention painting it, but on the front of the box, they’ve done it in black so it looks like a shadow! Let’s definitely paint it black.


So thankyou so much for watching me build my first model kit on 25 years, and I hope it inspires you to build what might be your first kit ever!
Related Products
Related Posts
