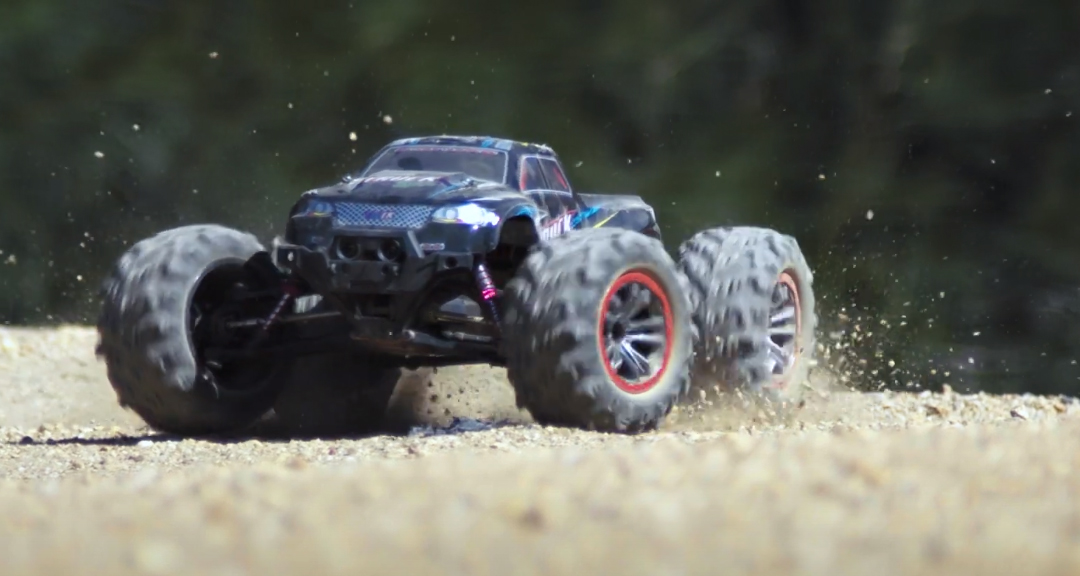
How to: Replace a rear Diff in a Xinlehong 9125
There's one car at Hobbies Direct that I can't imagine anyone not having fun with, and it's from budget-friendly brand Xinlehong. The 9125 Sprint is smooth, easy to control, and a blast to drive for anyone of any age or skill level.
They are also tough, usually bouncing off most obstacles rather than getting truly hung up on them. The best thing about this car though, is that when you do eventually bin it hard enough to break something, the spare parts are readily available and cheap to buy.
And, as it turns out, pretty easy to fit. Blown the Diff in your 9125? Read on! Or, to view this blog in its original video form, click here.
We just need one tool for this, a small Phillips-head driver. Thank you, Xinlehong.
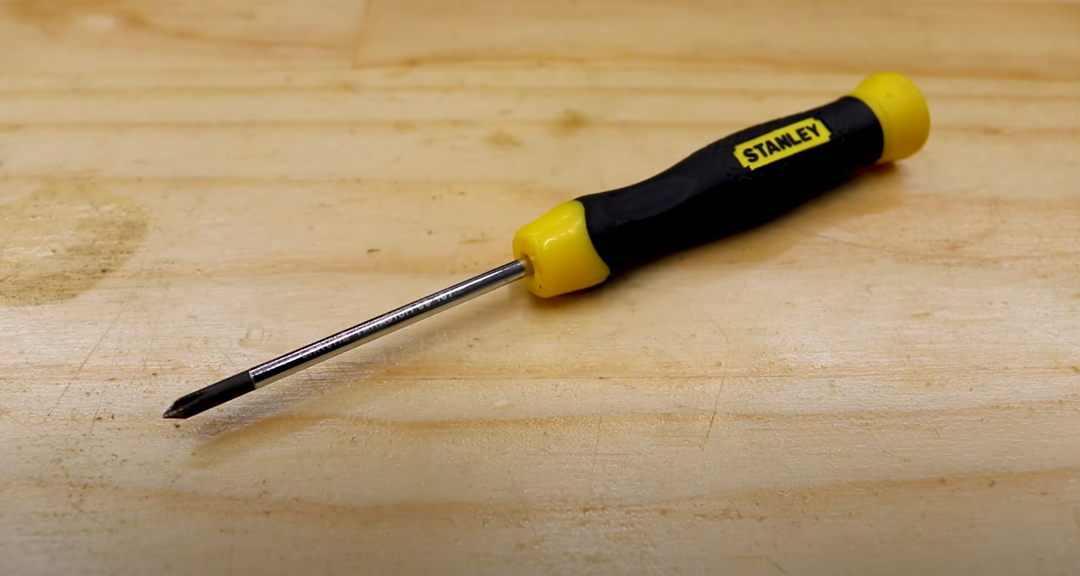
I’m going to use this electric screwdriver because it’s faster and looks cool. If you use one, make sure it has an adjustable torque setting so you don’t strip anything by going too hard.
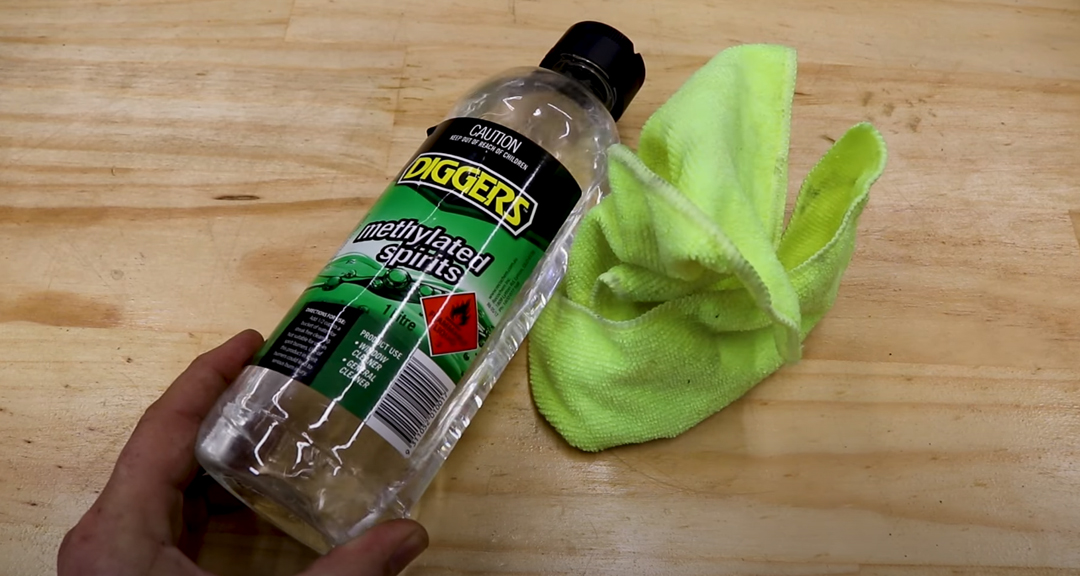
You’ll also obviously need the replacement diff and some grease. Metho and a cloth are always a good move.
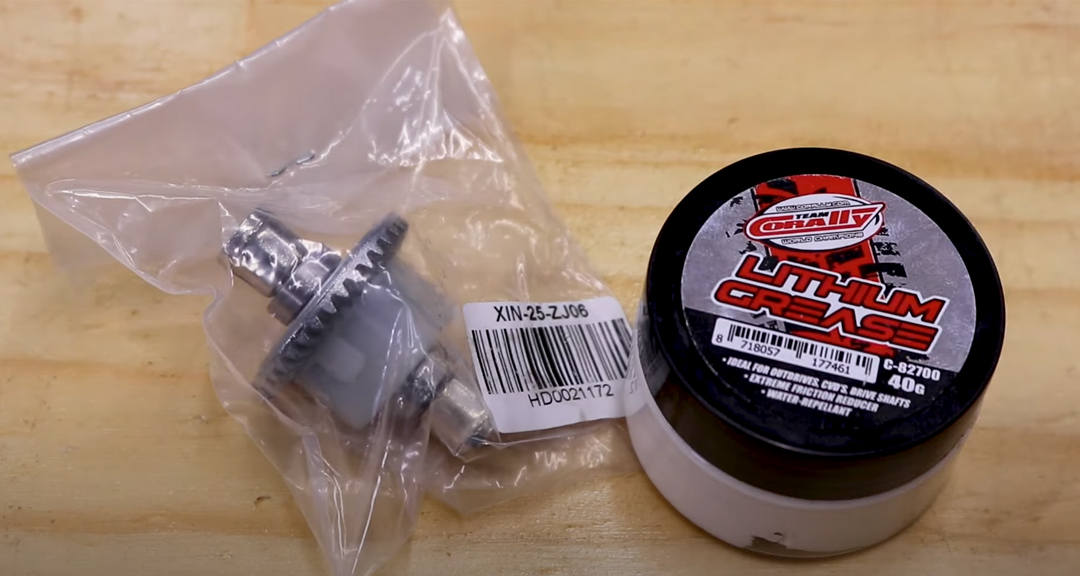
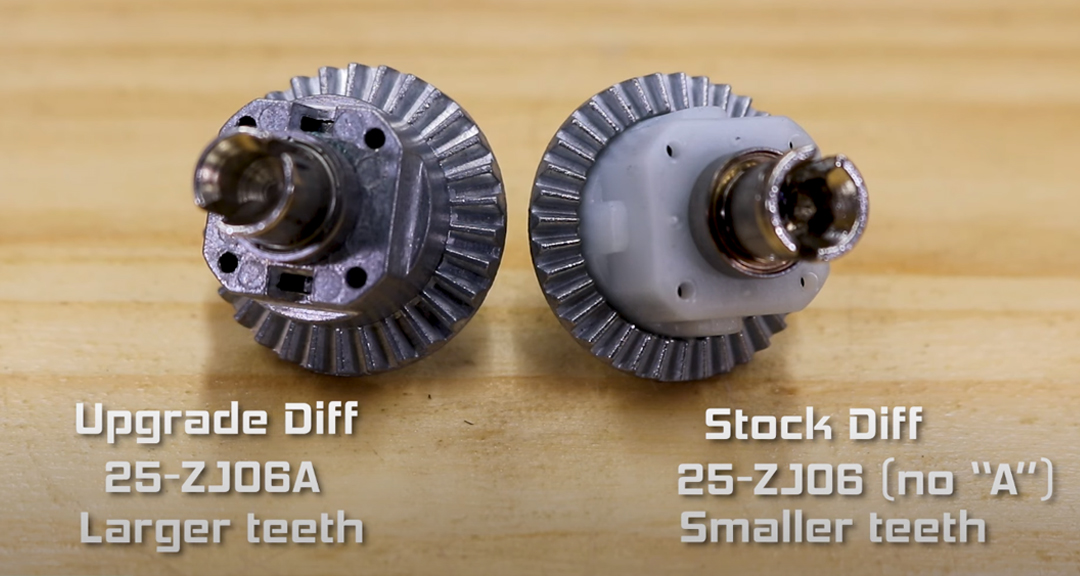
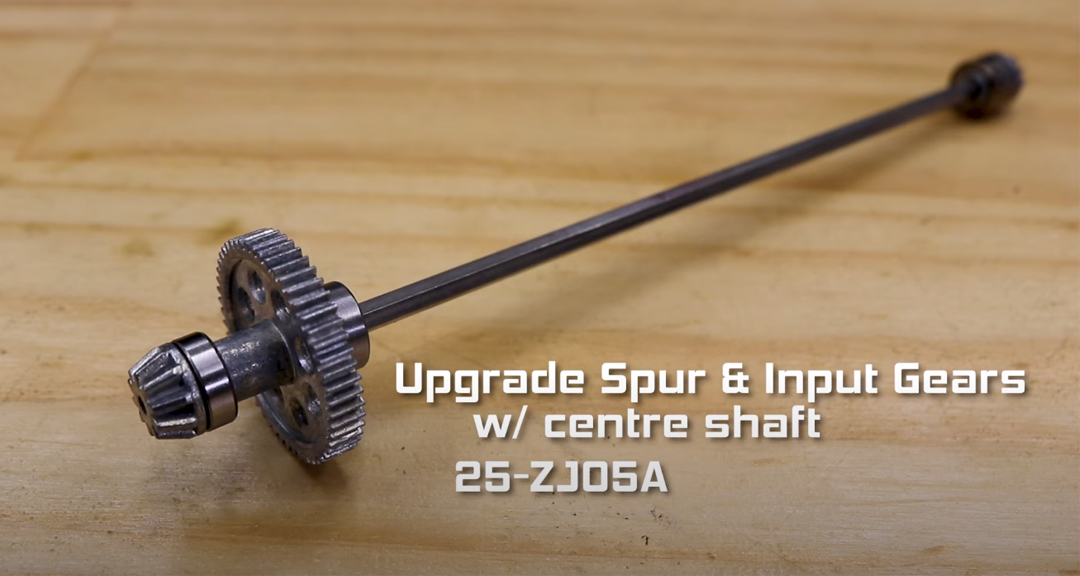
If you are putting in the upgraded metal diff, part number 25-ZJ06A, please note that while they look similar, the teeth are actually a slightly larger pitch, so you’ll need to install the upgraded centre shaft assembly ZJ05A as well.
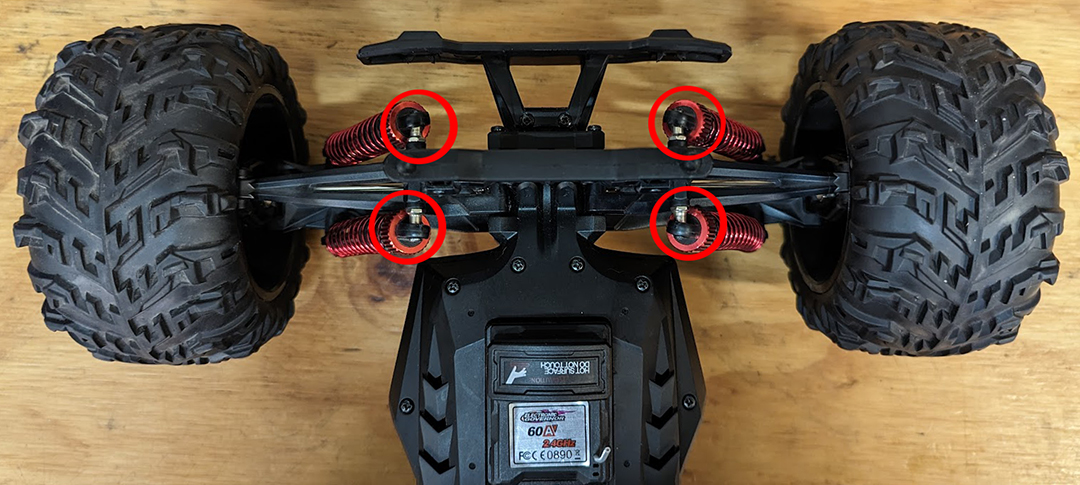
First, we need to take the top screws out of the 4 rear shocks. They are all the same length, so group them together.
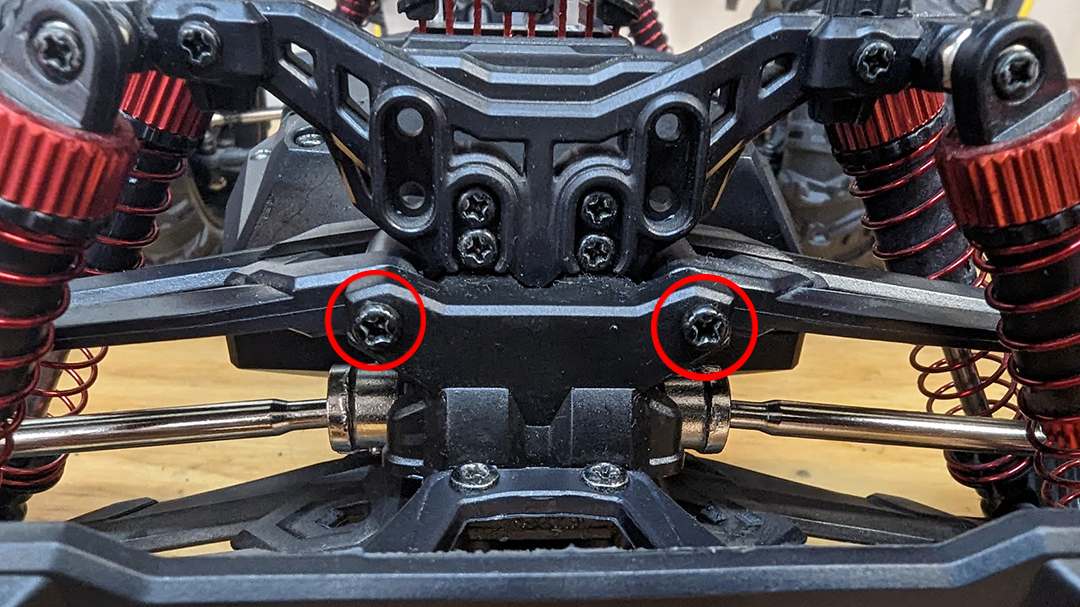
Next, we’re gonna remove the upper hinge pins. We’ll keep them together as well.
The wheels can now flop sideways, and the driveshafts will likely fall out. Don’t worry, we’ll handle this later. Pop the driveshafts aside for now.
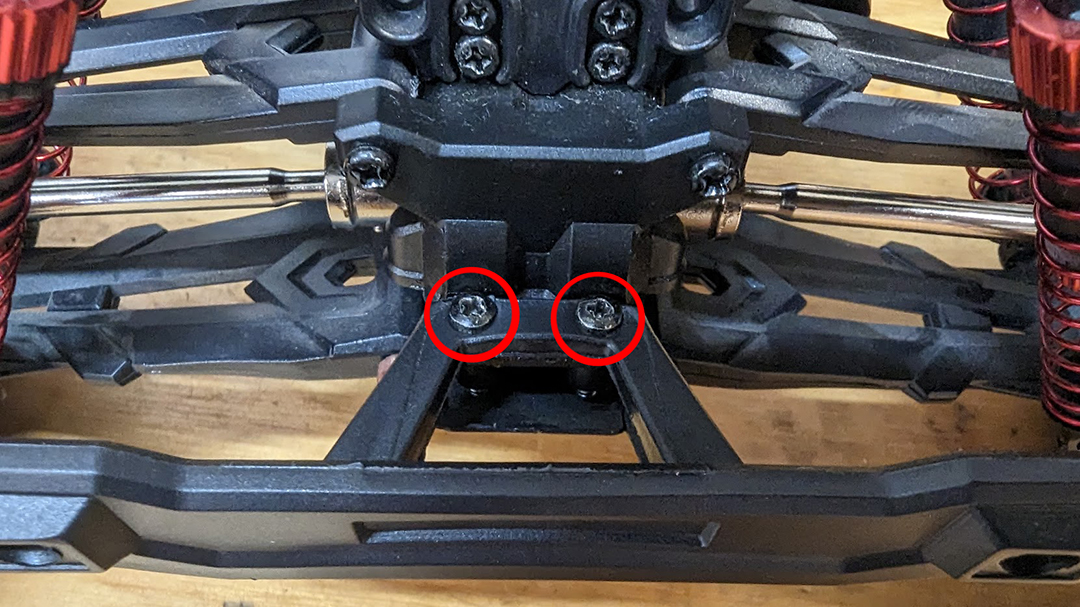
There are two smaller screws on top of the bumper mount – remove them then group them together.
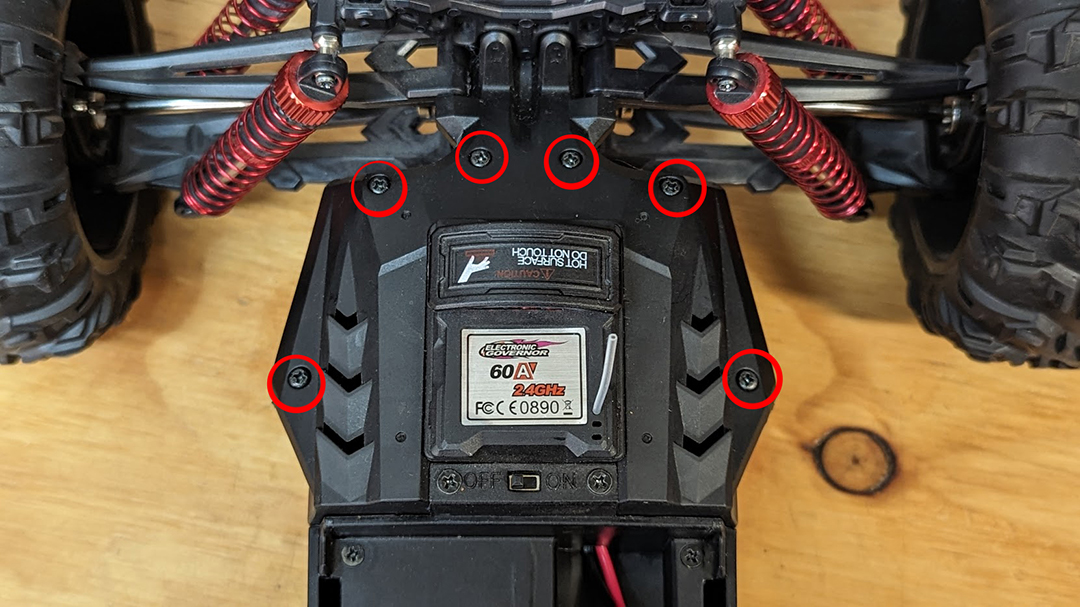
Lastly we are going to take off 6 screws from the top of the chassis. Again, these are all the same length, so lets keep them grouped together as well.
Now you can lift up the top of the chassis enough to get the old rear diff out.
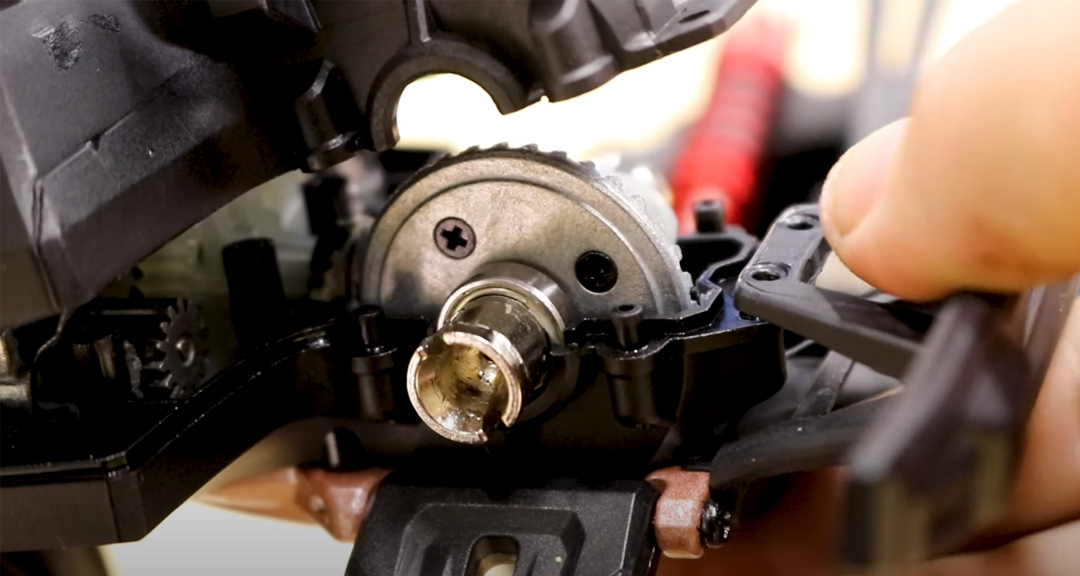
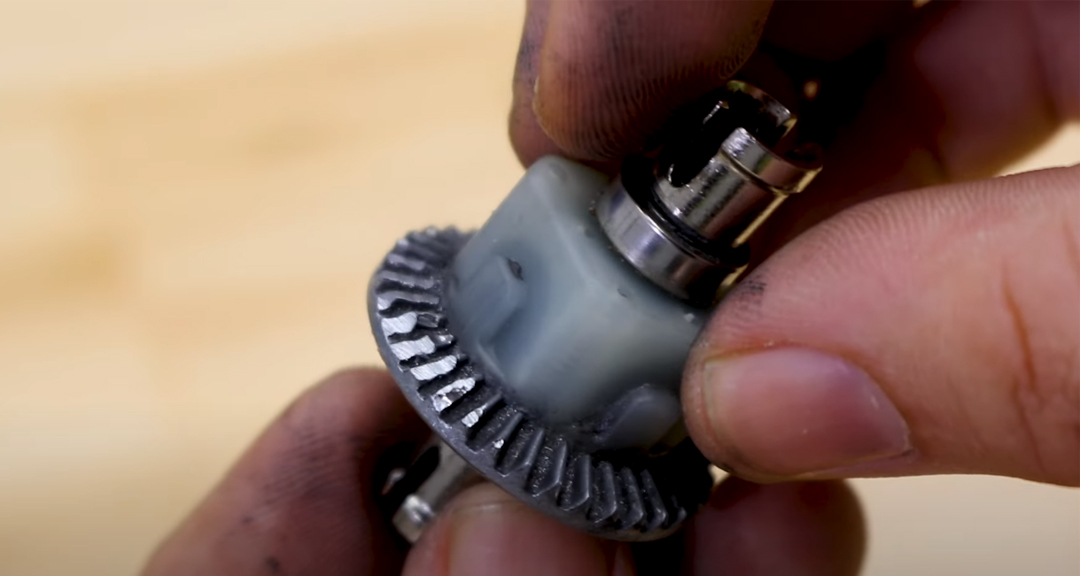
If the diff has failed internally, and everything looks clean, then you are right to put the new diff in and screw the car back together. This is the most likely scenario, as differentials will usually fail internally before the crown gear wears out..
But if, when you have a look at the old diff, it has failed by stripping teeth, it’s a good idea to clean out the whole area.
To get into the car proper, take out the 4 screws that are in the battery compartment.
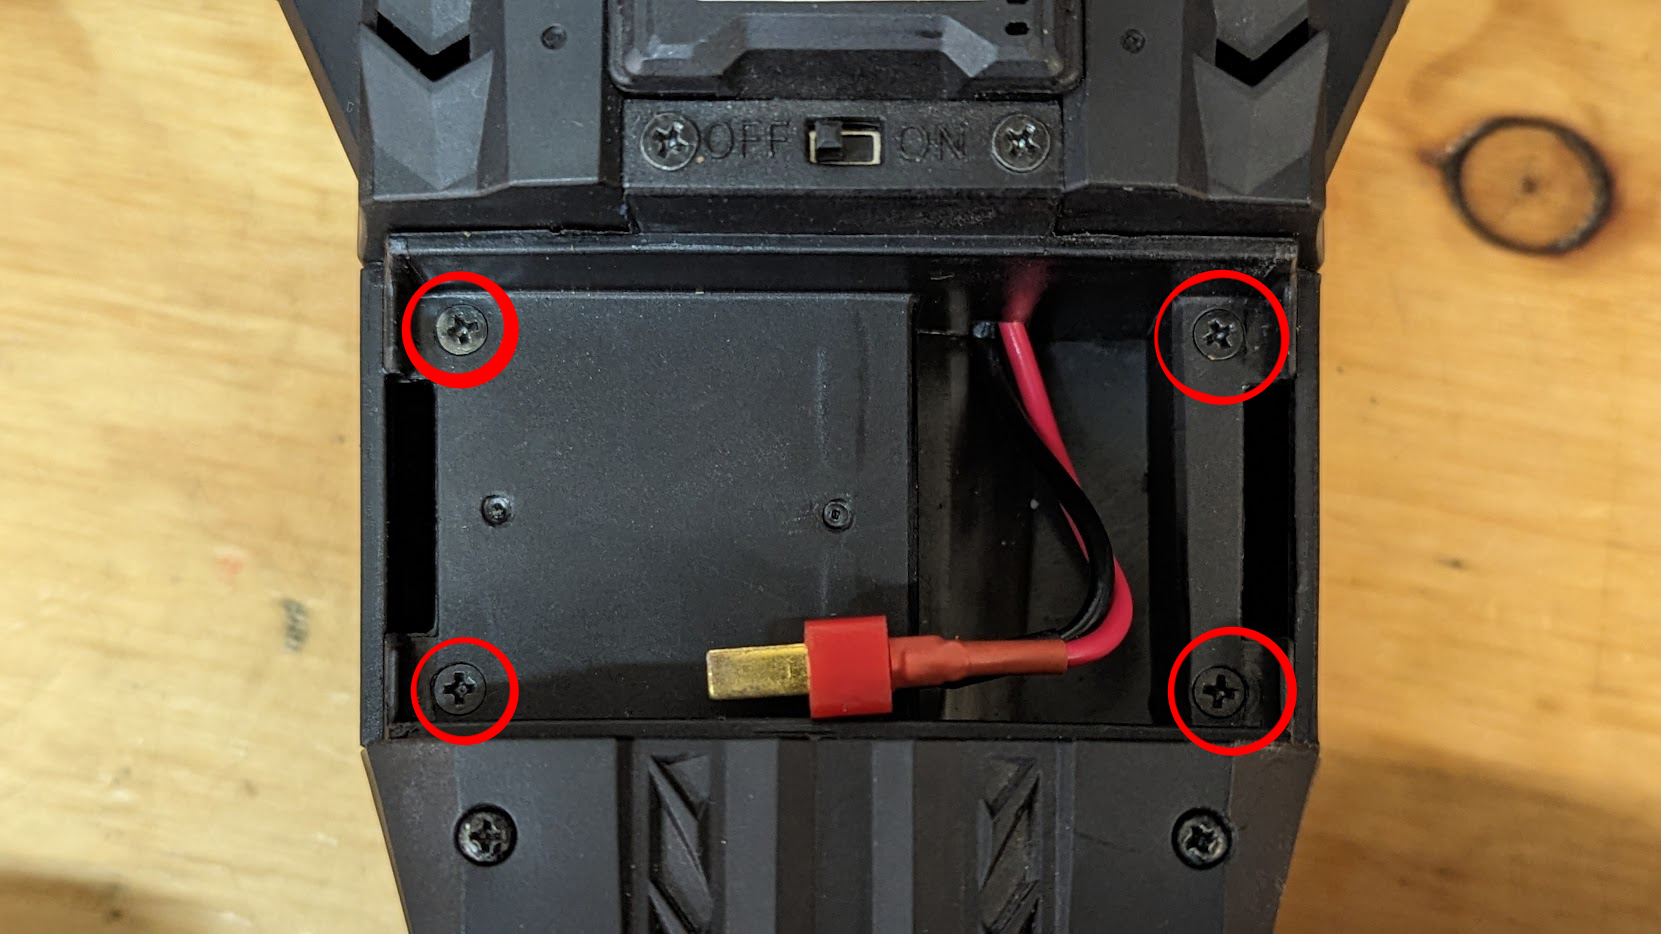
This whole top plate, including the receiver/esc unit and motors, will now lift freely up from the rest of the car.
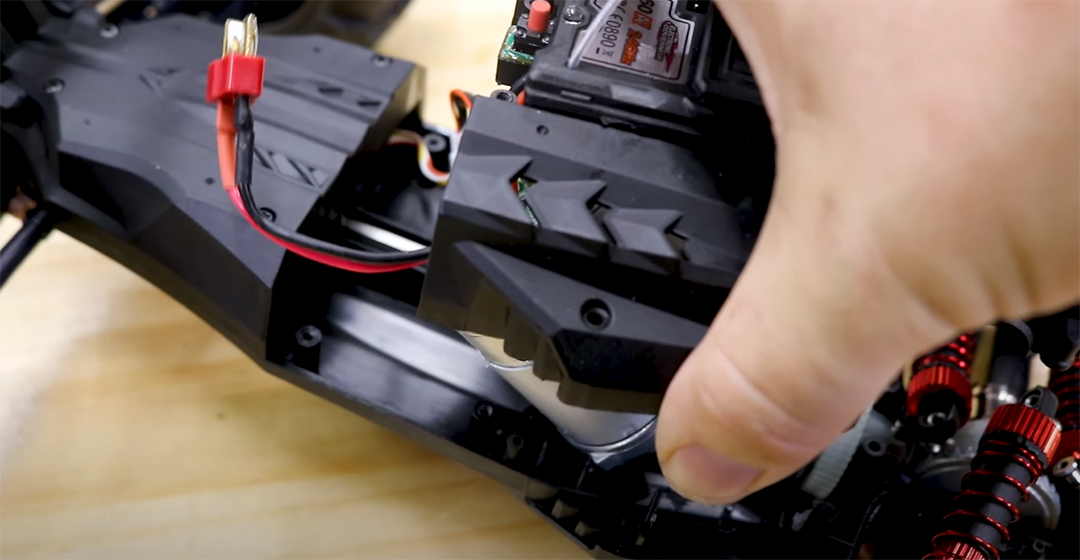
Use some metho and microfiber cloth to clean everything up if need be. You can even spray it all out with wd40.
With the gearbox area clean, it’s time to drop in your new diff assembly.
Add some axle grease to the ring gear and rotate to spread the grease.
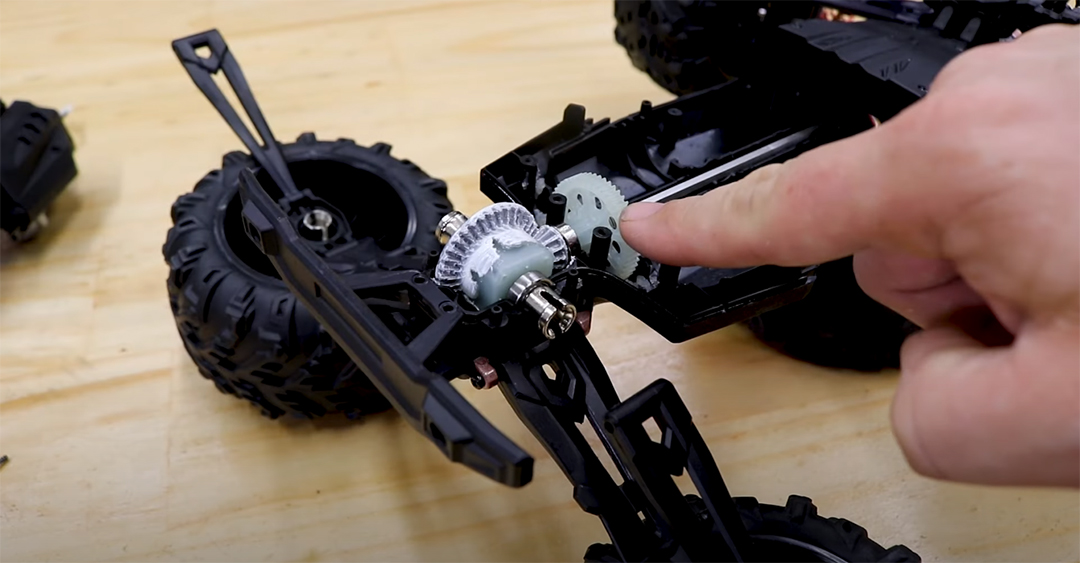
It’s worth checking the ring and pinion gear mesh properly and spin freely. If it’s notchy or grindy, it might mean there is debris from the old dead gear still in the pinion. Clean further, reinstall and check before reassembling completely.
Once you’re happy, it’s time to put your car back together. If you had to remove the upper chassis plate to clean the housing out properly, make sure you don’t pinch any wires, and make sure everything is sitting correctly before screwing it down.
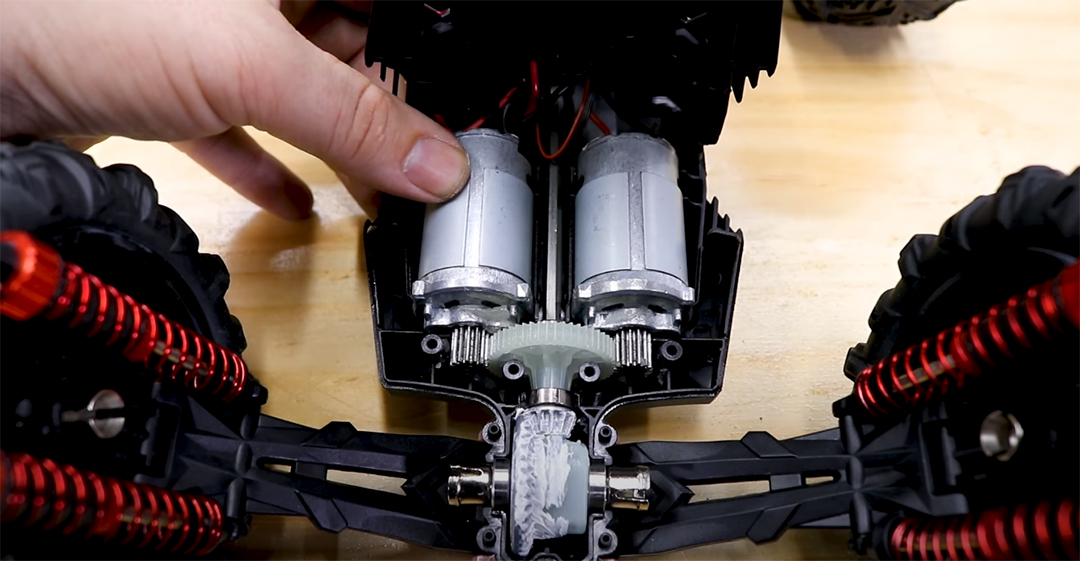
If the motors have moved out of place during disassembly, don’t stress. They aren’t actually screwed into anything. Rather, they are just held in place by the upper and lower chassis halves.
It’s easiest to get them into place on the lower half of the chassis, so double check they are sitting neatly in their motor mount cradles.
If you took off the battery tray to clean up around the gears, start reassembly by putting in those 4 (2.6x8mm) screws that you definitely kept track of.
Then the 6 (2.6x20) from the top chassis plate.
Then the two (2.6x10) on the bumper.
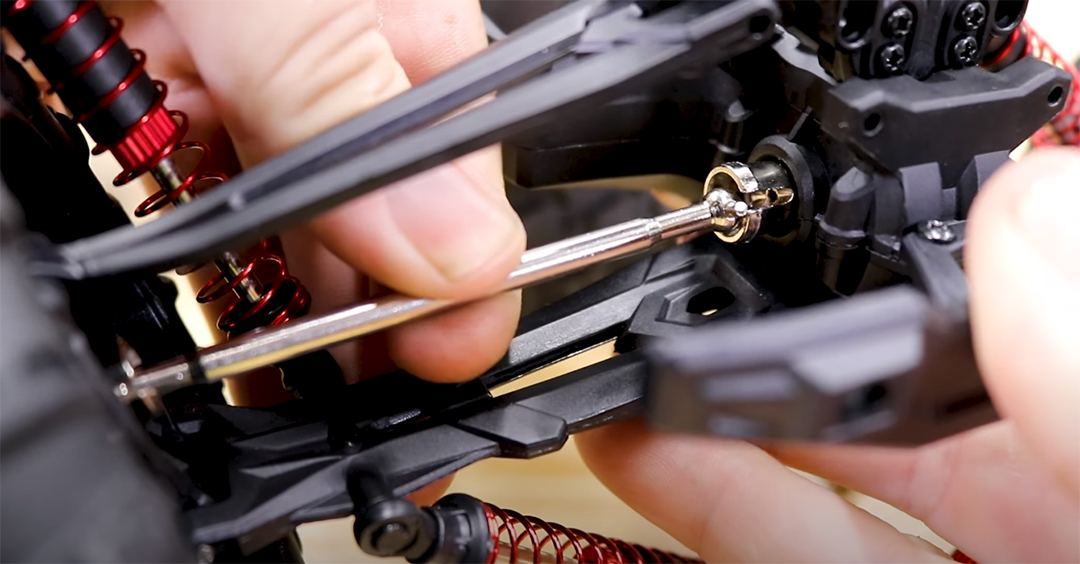
Time to put those shafts back in, and the hinge pin. Just do one side at a time.
Lastly put the shocks back on with the 4 (2.3x16) screws
Roll the car by hand forward and backwards to make sure nothing is sticking or making that classic grindy noise.
If it feels all good, throw in a battery, and go for a drive!
