How To: Clean an RC Car
Hey guys, Aaron here from Hobbies Direct and in this blog, we're gonna show you how to clean your RC car.
Love videos? Why didn't you say so, watch our video here.
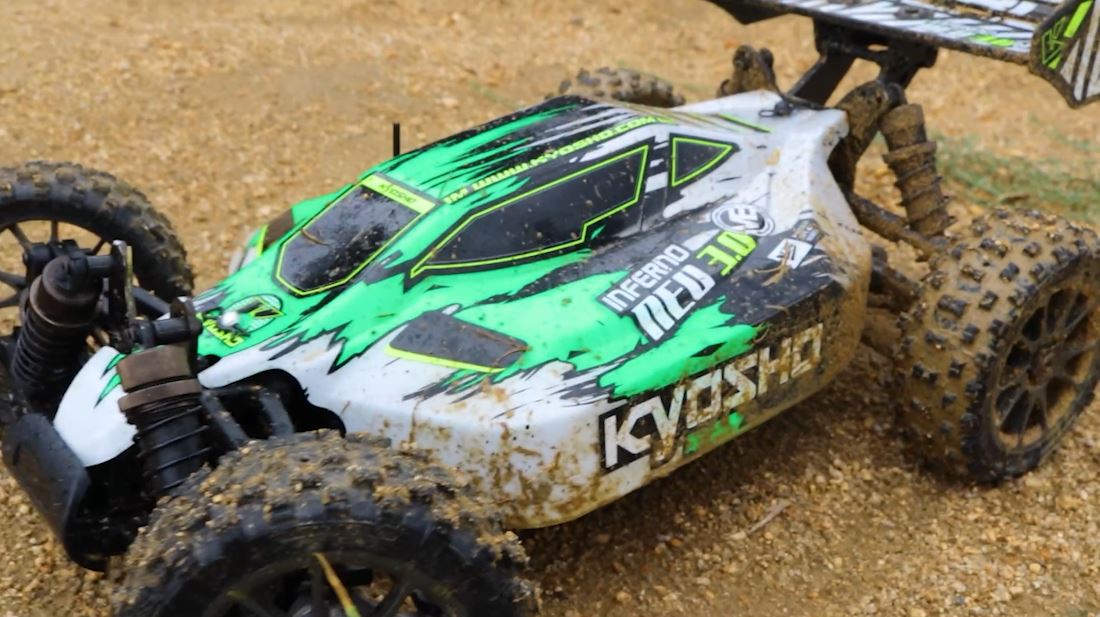
We'll be cleaning this Kyosho Inferno, but these tips can be used for any car, in almost any scale. But first, why even clean it? Aside from helping you avoid the wrath of Scotty, there's 2 reasons. Reason the first: it maximises performance. Reason the second: it saves you monies.
How does it do that? Read on:
Friction is the enemy of efficiency. Friction creates heat, heat kills electronic components. A clean car will improve the lifespan of key components. Having dirt and grit sitting in all your moving suspension and drivetrain parts is like them having their own personal piece of sandpaper wearing away at each component. Basically, the whole car will *last* much longer and perform better when everything can move smoothly.
For Example:
The Motor: if the drivetrain is all bound up, the motor has to work harder to move the car. Less speed, more heat, shorter run times, shorter service life. ESC: If the motor works harder, so does the esc and battery. Both these things can be cooked by excessive heat.
Your ESC might also have a fan that it needs to keep cool, and if that can't spin because of dirt/grit/grass stuck in it, it'll overheat. If you're lucky, it'll shut itself down before it sustains damage, but if you aren't lucky, its new ESC time.
Steering Servo: Same deal here. If the steering mechanism is all gunked up the servo has to work harder to do its job. Obviously its not just the electronic components that function better when they're clean - shocks, drive shafts, pivot balls - the whole car will just run much better when everything can move smoothly. So save yourself some money, and have a faster, better looking car - Keep it clean.
Here's what you'll need:
-
Canned air or an air compressor
-
Various Cleaning Brushes
-
Microfibre Cloths
-
Multi-purpose Cleaner (We use Simple Green)
-
WD 40
-
Windex Spray
-
Soap (We're using Armor All Wash & Wax)
A couple of different stiffness and sized brushes, micro fiber cloth, cleaning solution - we like to use simply green, a can of trusty WD40, windex for added shine, and some wash soap. When using chemicals, be sure to read the safety instructions first. The first step is to remove the body and wheels, so don't forget your wheel wrench. They can be cleaned separately to the rest of the car, and will allow much better access to the rest of chassis and suspension components. If your car is just a bit dusty, like this Storm BL, first tip it upside down to get the big stuff out.
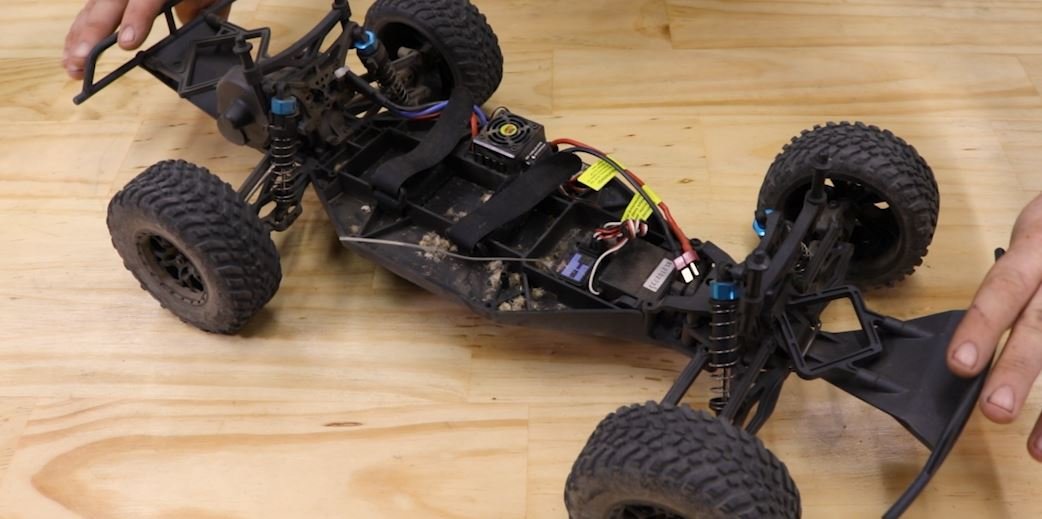
You can then use some compressed air to blow it down before using a suitable brush to get into those tricky hard to reach places, paying special attention to components such as shocks, steering links and pivot balls. It's worth trying a couple of different brushes to see which one works best for you and your car.
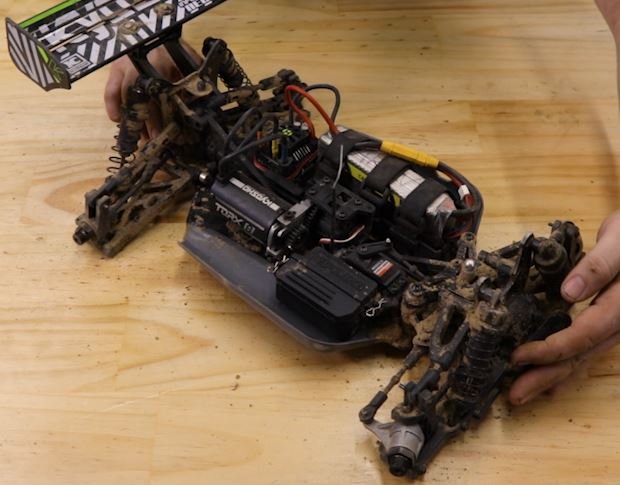
If your car has had a proper muddin' like this here inferno, then it might be time to go to the next level of cleansing. We're still gonna tip it upside down and bang out the big stuff.
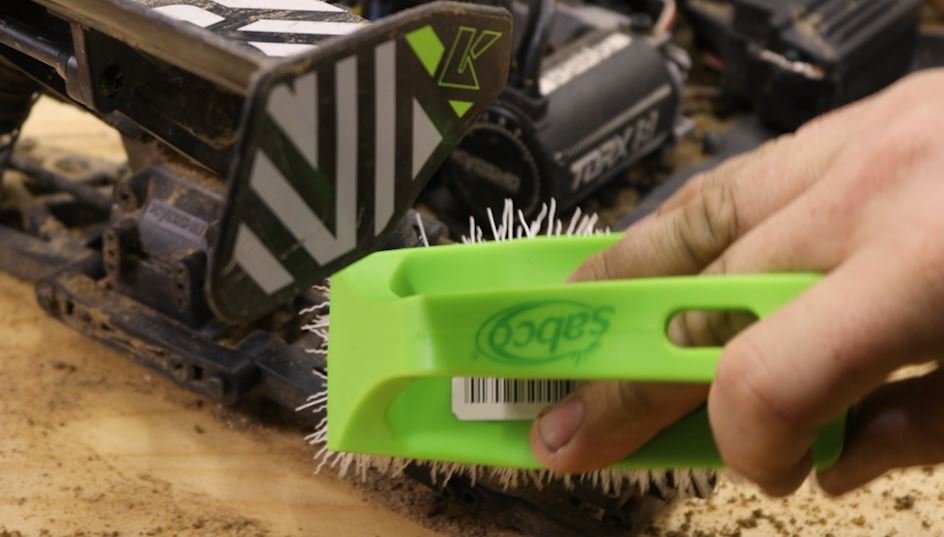
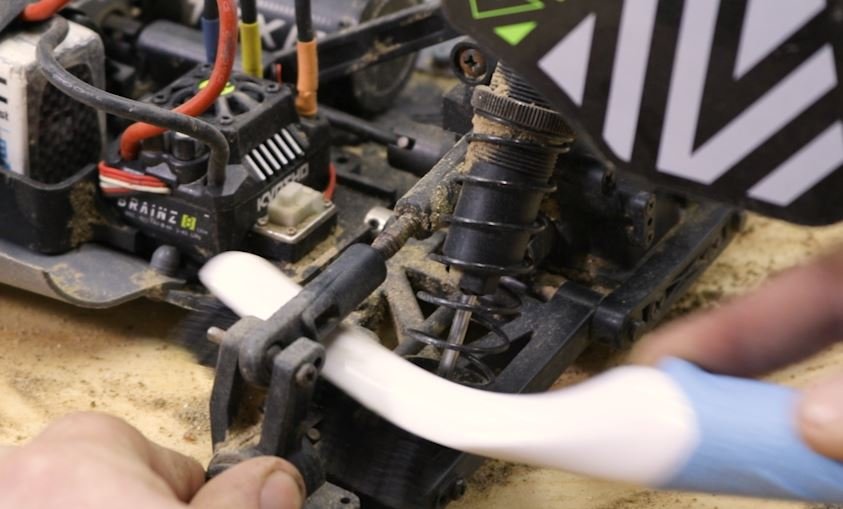
A stiffer-bristled scrubbing brush is great to break up caked in mud and clay and then blow off with an air compressor, before wiping down with a microfibre cloth and your chosen cleaning solution. If this still hasn't got your car factory fresh, it's time we talk about something you absolutely must never use to clean your car: water. Except, you kinda can. You might be thinking “hey, it says right here on the ESC that my car is waterproof, dummy”. And you'd be right! But, waterproof is not the same thing as submersible. Splashing through a puddle is definitely not the same thing as getting water pooled in everything.
A waterproof esc still has a fan and battery connector that don't really like water sitting in them, and don't appreciate being blasted with a hose. Something to keep in mind when using water to clean your RC, is that our good friend H2O is a real corrosion promoter. So be extra mindful of all your metal components such as bearings, screws and hinge pins, as they will need to be properly dried and protected at the final stages of cleaning to prevent them from seizing up or looking ugly with surface rust.
Also noteworthy is that blasting water and compressed air at anything sealed, like bearings or diffs, can do more harm than good, pushing water and grit into places they shouldn't ever be. If its easy enough, I *prefer* to take the electronics out of the car when using water, just to keep them separate and dry. I then clean them separately using a fine brush, damp rag and compressed air. Spraying them with some contact cleaner before re installing, or when you're finished, is a good idea too.
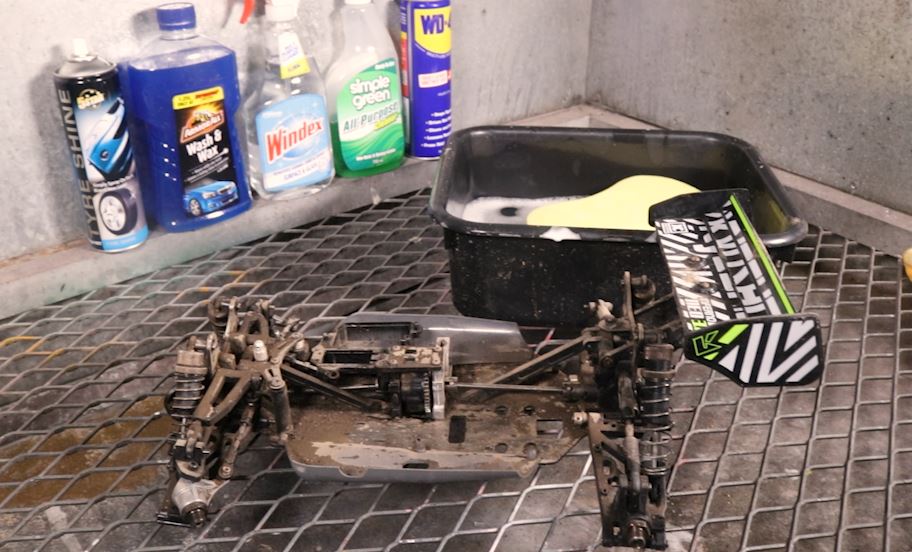
With all that said, find somewhere suitable to wash your car. We're fortunate enough to have this rad trough to wash stuff in, but a sink works well too - just make sure someone's favourite mug isn't in there. Once you've removed the easy stuff with the previous steps, we can spray some water on the caked up mud to help break it down, then lightly rinse before repeating with a brush and soapy water, play around to find one that works best for your chassis.
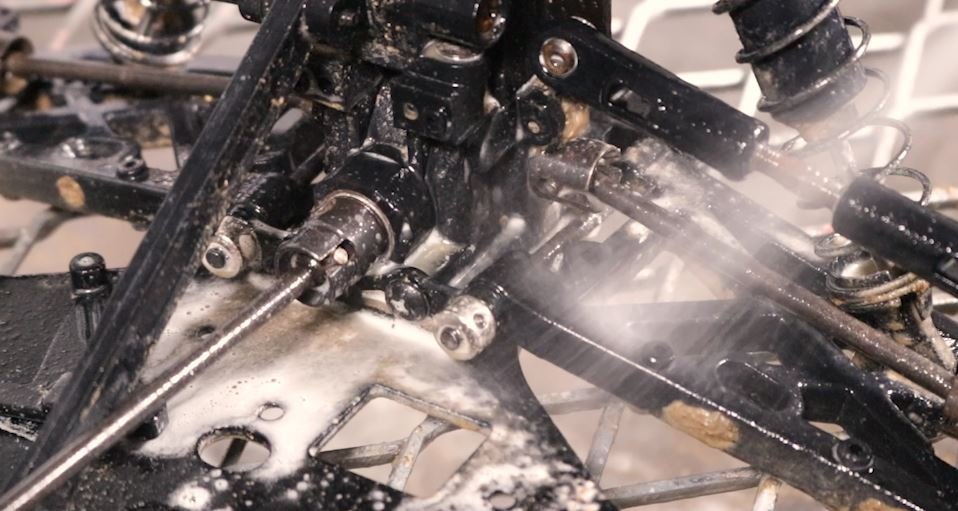
If it's more than dirt and mud, and your car has some kind of sticky schmutz on it, we find simple green or similar works wonders at dissolving the stuff that didn't come off with anything prior. Just remember, whenever using chemicals, make sure you read the safety directions so you don't hurt yourself or your beloved car. Once you're finished scrubbing and you've rinsed everything off, it's important to dry the car thoroughly. Start by using a micro fibre cloth to wipe and dry off all the excess water before finally drying them off with compressed air. A hair dryer on its cool mode works well at drying the car off too. It's a good idea to spray some WD40 onto a micro fibre cloth to wipe down metal parts to help prevent surface rust.
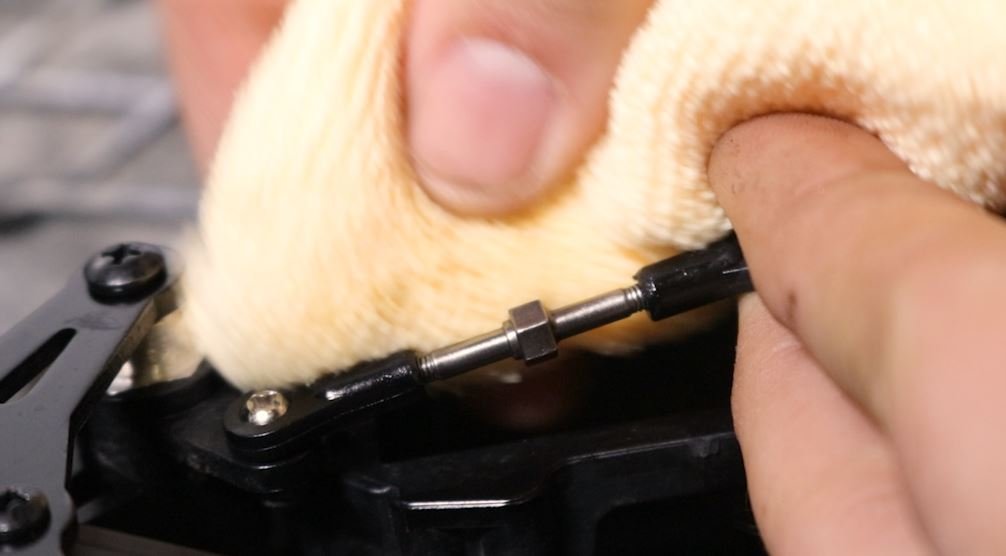
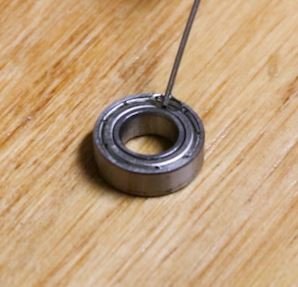
Once the car is dry and still apart I like to do a couple of basic checks before reassembling as a part of my regular maintenance. Check for any loose screws, worn or damaged parts, squeaky or stiff to move parts, just anything that looks to be crying out for attention. I also like to quickly remove and check a bearing to give me an idea of the overall condition of the rest of the bearings throughout the chassis. If they are crunchy, it's time for replacements or an attempt to free them up. WD40 and bearings is kind of a grey area. WD40 is a penetrant, not a true long term lubricant. So while it has it's place in freeing up stuck or seized parts and displacing moisture, don't expect it to keep everything running smoothly for a long time - for that you'll need oil or grease.
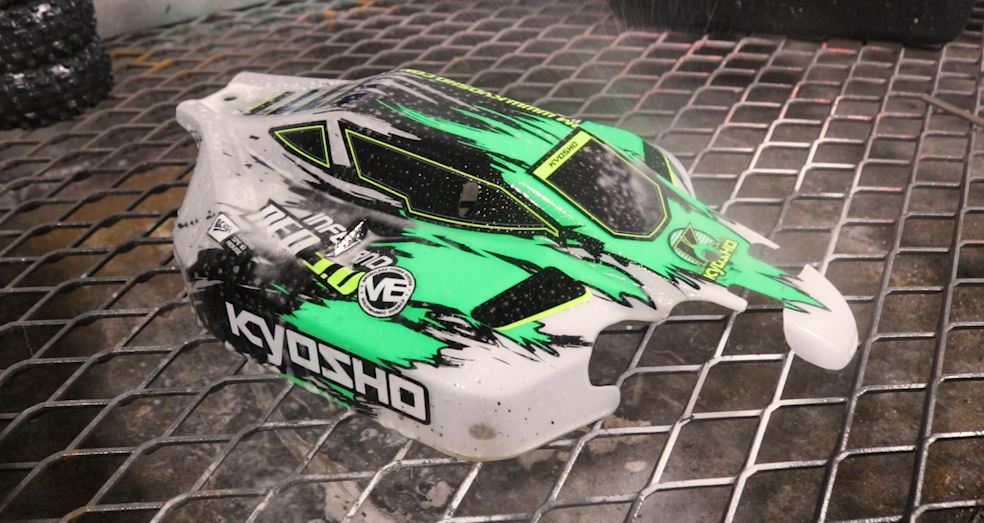
Now we move our attention to the body and wheels we removed earlier, spray the body with water to remove the bulk of mud and dirt of before using a sponge and soapy water scrub the body, then use a micro fiber cloth to dry it off. If you're feeling a little fancy, spray it with a bit of Windex to help bring back that factory shine. Be careful not to use any chemicals that will remove your stickers. Before washing your wheels with water, best to tape up the breather holes to prevent water getting into your tyre foams and damaging them.
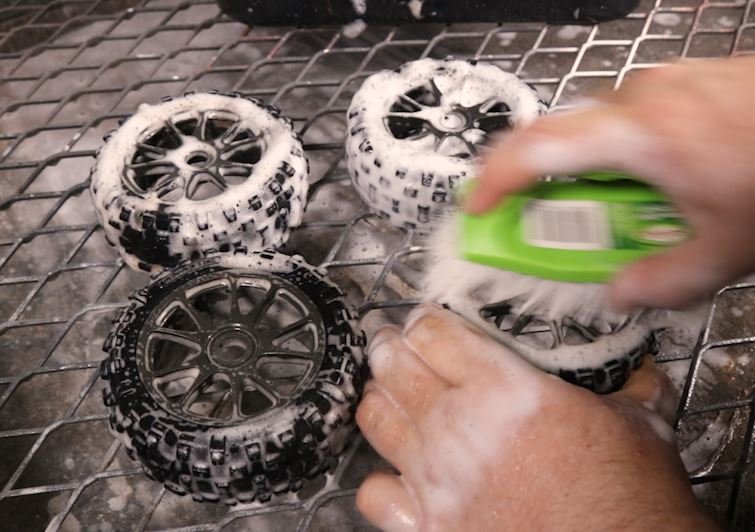
Use soapy water and a brush to scrub the rims and tire tread before rinsing with water. Then dry with a micro fiber cloth, before finally drying them off with compressed air. If you're feeling extra fancy, you can even hit them with some tyre shine.
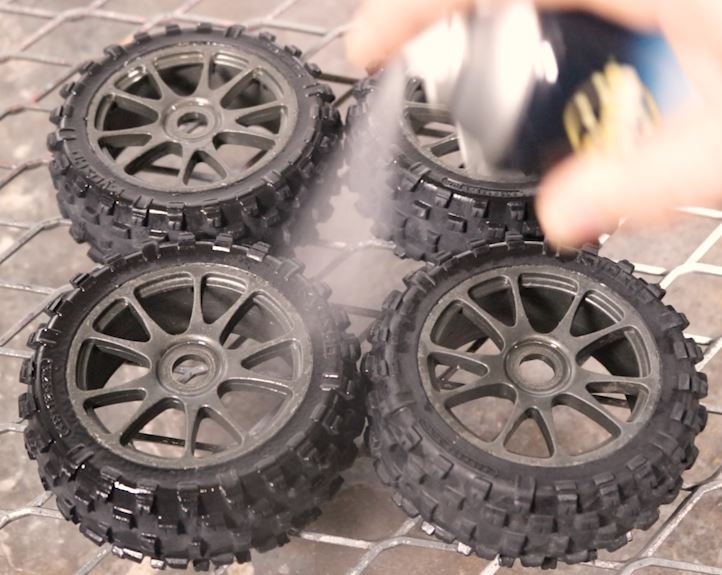
And that's it! Brand new next to thoroughly cleaned:
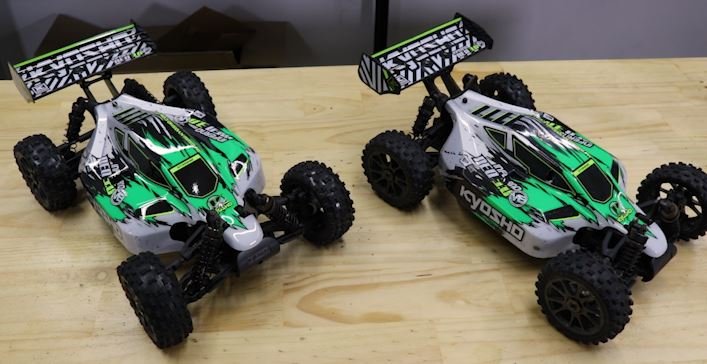
Time to take your car out and get it dirty all over again!
